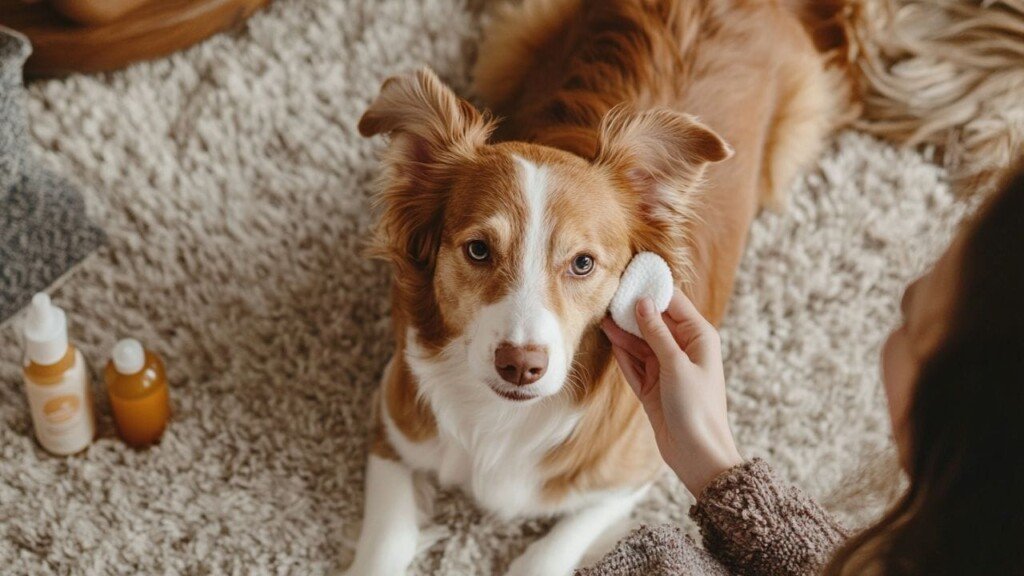
Keeping your dog’s ears clean is an essential part of their overall health and hygiene routine.
Regular ear cleaning can prevent infections, reduce odor, and keep your furry friend comfortable.
This guide will walk you through the process of cleaning your dog’s ears safely and effectively at home.
Why Clean Your Dog’s Ears?
Dogs’ ears are prone to accumulating dirt, wax, and debris due to their shape and structure.
Some breeds, especially those with floppy ears, are more susceptible to ear problems.
Regular cleaning helps prevent ear infections, which can be painful and costly to treat.
It also allows you to spot any potential issues early, such as redness, swelling, or unusual discharge.
How Often Should You Clean Your Dog’s Ears?
The frequency of ear cleaning depends on your dog’s breed, activity level, and individual needs.
Dogs that swim frequently or have long, floppy ears may need more frequent cleaning.
As a general rule, checking your dog’s ears weekly and cleaning them as needed is a good practice.
Consult with your veterinarian to determine the best cleaning schedule for your specific dog.
Want to keep up to date with new animal stories?
Gathering the Necessary Supplies
Before you begin, make sure you have all the required supplies on hand:
- Dog-specific ear cleaning solution (avoid using water or hydrogen peroxide)
- Cotton balls or soft gauze pads
- Towel
- Treats for rewarding your dog
Never use Q-tips or cotton swabs, as they can push debris further into the ear canal or cause injury.
Preparing Your Dog for Ear Cleaning
Choose a comfortable, well-lit area for the cleaning process.
Have your dog sit or lie down in a position that allows easy access to their ears.
Offer treats and praise to create a positive association with ear cleaning.
If your dog is anxious or resistant, start by simply touching their ears and rewarding them before progressing to cleaning.

Step-by-Step Ear Cleaning Process
Step 1: Examine the Ears
Gently lift your dog’s ear flap and check for any signs of infection, such as redness, swelling, or a strong odor.
If you notice any of these signs, consult your veterinarian before proceeding with cleaning.
Look for any foreign objects or excessive wax buildup.
Step 2: Apply the Cleaning Solution
Hold the ear flap up and carefully squeeze a few drops of the cleaning solution into the ear canal.
Be careful not to touch the tip of the bottle to the ear to avoid contamination.
Gently massage the base of the ear for about 30 seconds to help the solution break down wax and debris.
Step 3: Let Your Dog Shake
Allow your dog to shake their head, which will help bring the loosened debris to the outer part of the ear canal.
Hold a towel over your dog’s head during this step to prevent mess.
Step 4: Wipe Away Debris
Using a cotton ball or soft gauze pad, gently wipe the visible part of the ear canal and the inner surface of the ear flap.
Only clean the parts of the ear you can see; never insert anything into the ear canal.
Continue wiping until the cotton ball or gauze comes away clean.
Step 5: Repeat on the Other Ear
Once you’ve finished cleaning one ear, repeat the process on the other ear.
Remember to use fresh cotton balls or gauze pads for each ear to prevent cross-contamination.
Step 6: Reward Your Dog
Offer plenty of praise and treats to reinforce that ear cleaning is a positive experience.
This will make future cleaning sessions easier and more enjoyable for both you and your dog.

What to Avoid When Cleaning Your Dog’s Ears
Never use Q-tips or cotton swabs, as they can push debris deeper into the ear canal or puncture the eardrum.
Avoid using alcohol or hydrogen peroxide, which can irritate the delicate skin inside the ear.
Don’t clean your dog’s ears too frequently, as this can disrupt the natural balance of the ear and lead to irritation.
Never force the cleaning process if your dog shows signs of pain or extreme discomfort.
Signs of Ear Problems to Watch For
While cleaning your dog’s ears, be alert for signs of potential problems:
- Redness or swelling in the ear canal
- Strong, foul odor
- Excessive scratching or pawing at the ears
- Head shaking or tilting
- Discharge or crusting in the ears
- Sensitivity or pain when touching the ears
If you notice any of these signs, consult your veterinarian promptly.
Conclusion
Regular ear cleaning is an important aspect of your dog’s grooming routine that contributes to their overall health and comfort.
By following these steps and using the right techniques, you can effectively clean your dog’s ears at home and prevent potential ear problems.
Remember to be gentle, patient, and make the experience positive for your furry friend.
If you’re ever unsure about your dog’s ear health or the cleaning process, don’t hesitate to consult with your veterinarian for guidance.
With proper care and attention, you can help ensure that your dog’s ears stay clean, healthy, and problem-free.
SHARE now with your friends!


